Decorating Floating Shelves for Christmas Without Exceeding Their Weight Limit
October 08, 2026 - Home Decor
A shelf looks simple: a board, two brackets, four screws. The wall behind it is where the trouble hides. Old plaster, dot-and-dab board, a cable running down from a socket, a radiator that needs air to move. Get those details wrong and the shelf will sag, crack the plaster or, worse, pierce something it should not. This ten-point check takes a few minutes before you drill. It is the difference between a shelf that lasts and a repair job you did not plan.
Tap the wall. Hollow, solid or crumbly? That sound tells you more than the colour of the paint. Solid masonry — brick, block or stone — usually takes screws and wall plugs well. Plasterboard on timber studs needs fixings into the studs or proper cavity fixings; a plastic plug alone in plasterboard will pull out under load. Dot-and-dab plasterboard over masonry looks similar but behaves differently: the board may be hollow, while the solid wall sits a short distance behind. Lath and plaster, common in older homes, can crumble around a fixing and may need a different approach. Tiles add another layer: drill through them with a tile bit and into whatever is behind, taking care not to crack the glaze. If you cannot identify the wall, ask a builder before you guess.
Use a cable and pipe detector before you mark a single hole. Run it slowly across the wall in both directions, not just where you plan to drill. Mark every beep or change, then scan again. Cables often run vertically or horizontally from sockets, switches and the consumer unit, and pipes can sit behind radiators, sinks and appliances. Plastic pipes may not register on every detector, so use metal and non-metal modes if yours has them. Treat safe zones around electrical accessories as a guide, not a guarantee. If you have any doubt, turn off the power at the consumer unit before drilling. If you hit a cable or pipe, stop, isolate the supply and seek professional advice. No shelf is worth a shock or a flood.
Depth changes everything. A 15 cm shelf suits spice jars, small bottles or paperbacks. A 25 cm shelf takes larger books and storage boxes. Anything deeper can feel heavy and crowd a small room. Check the items you actually plan to store, then leave a finger's width above them so you can lift them out without scraping your knuckles. For a shelf above a desk or kitchen worktop, 45–50 cm from the surface is a common starting point, but your reach and the tallest item decide. Above a radiator, leave a clear gap so warm air can rise; a shelf pressed right above it traps heat and can mark the wall. Beside a door, open the door fully and mark its swing. A shelf that clips the door frame on a hot day is a shelf you will resent.
Weight matters just as much as depth. A row of paperbacks can weigh 15–20 kg, and hardbacks or recipe books add more. Add the shelf board itself and the brackets, then double it for safety. If your planned load creeps past what a single plasterboard fixing can hold, move the shelf onto studs or step up to heavier-duty fixings.
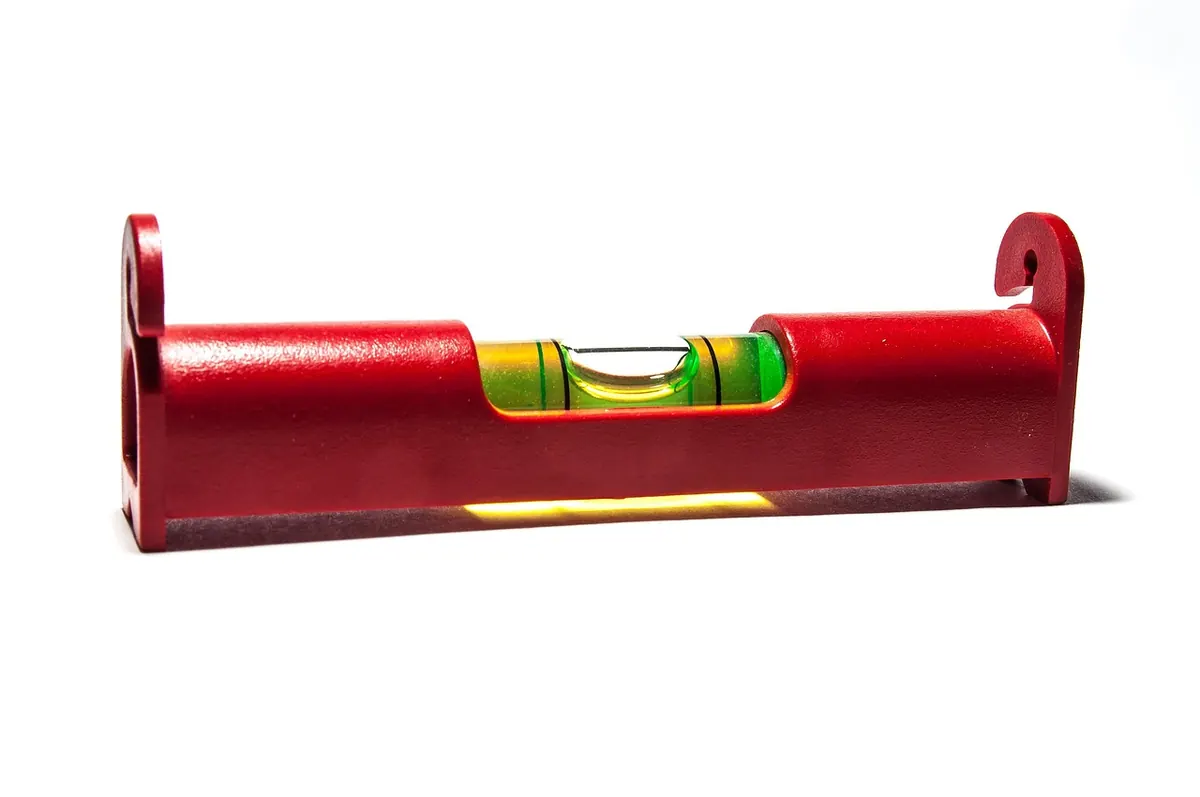
Brackets are only as good as what they are fixed to. Find the studs or solid areas first. Hold the shelf and bracket in place, or cut a cardboard template to mark the holes. Check with a spirit level, then check again. A laser level is useful over a long run, but a straight edge and a level work fine. Brackets should sit level with each other and square to the wall. If one bracket lands on a stud and the next lands on hollow plasterboard, move the shelf or add a wall batten to spread the load. For wide shelves, space brackets evenly; 60 cm apart is a rough maximum for light loads, and closer for heavy books. Check the shelf itself for warping before you commit.
A shelf is a lever. The further the load sits from the wall, the harder it pulls on the fixings. Depth and weight matter as much as the drill bit.
The drill bit should match both the wall and the fixing, not just the screw. Masonry needs a masonry bit and hammer mode; plasterboard and timber take a standard wood bit; tiles need a tile bit at low speed with no hammer action. Pick a bit the same diameter as your wall plug, no larger, or the plug will spin. For hollow walls, choose a cavity fixing rated for the load you calculated, and follow its instructions on hole size exactly — too big and it will not grip. For solid walls, match plug length to screw length so the screw bites fully. If you are drilling into a hollow wall with a batten, fix the batten into studs first, then screw the brackets to the batten. Keep a spare plug and screw of each type in case one strips.
Photo: Silberfuchs / Pixabay
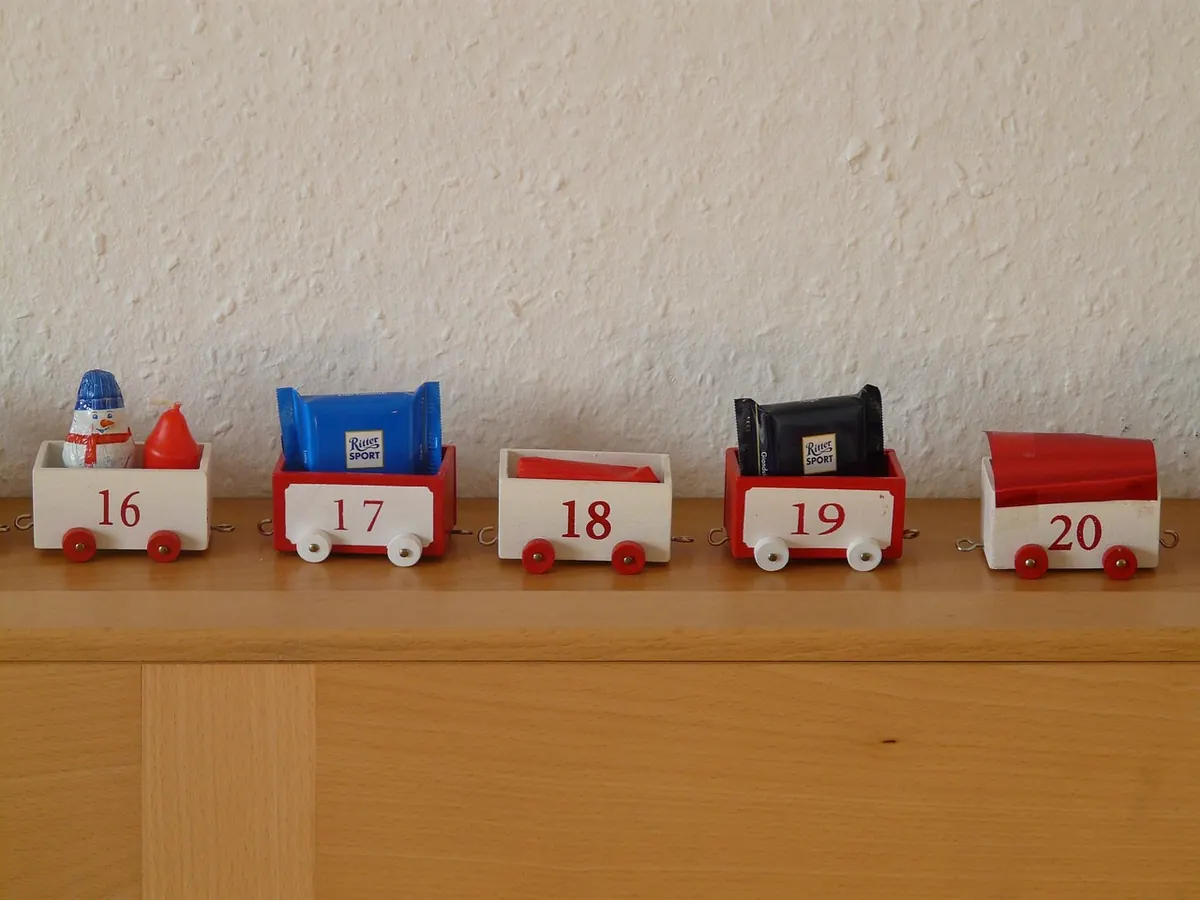
How to decorate floating shelves for Christmas safely: check the fixings, estimate a rough load per shelf, and...
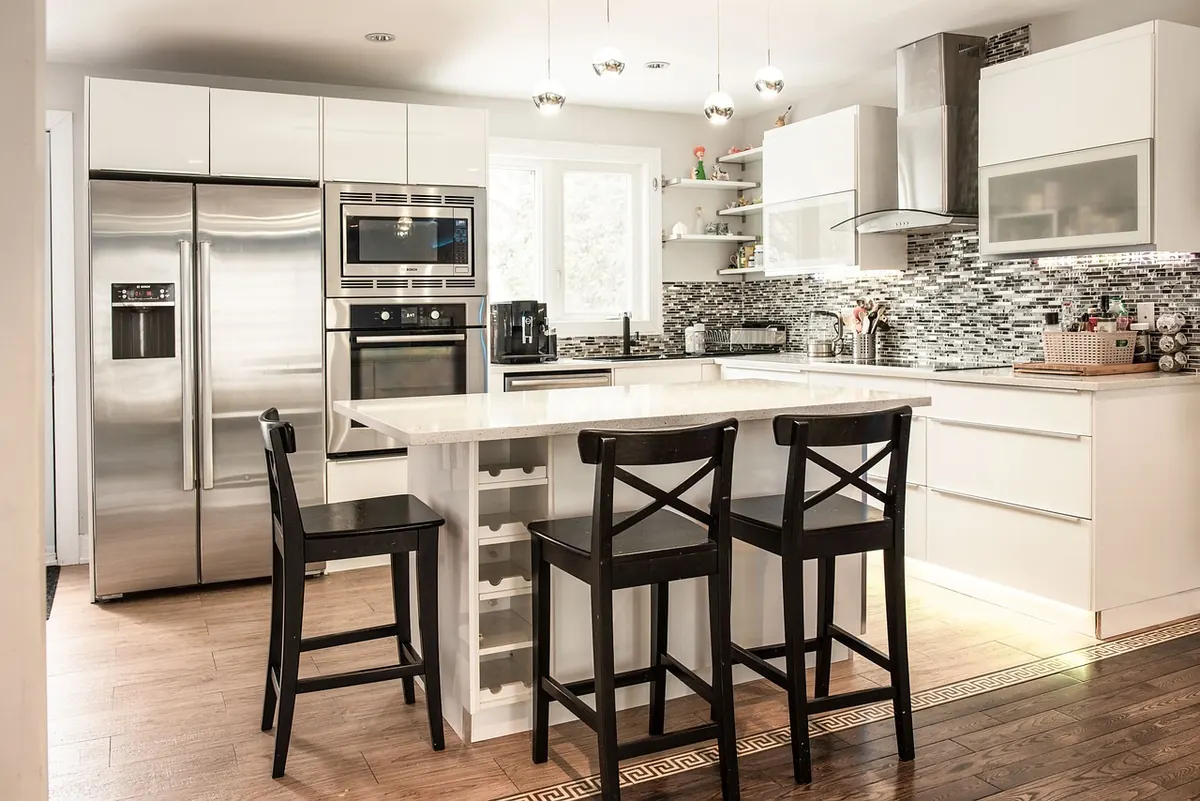
Open shelving and closed cabinets suit different kitchens. This comparison looks at dust, grease, access and visual...
Copyright © 2026 Mesa Shelf. All Right Reserved.