Decorating Floating Shelves for Christmas Without Exceeding Their Weight Limit
October 08, 2026 - Home Decor
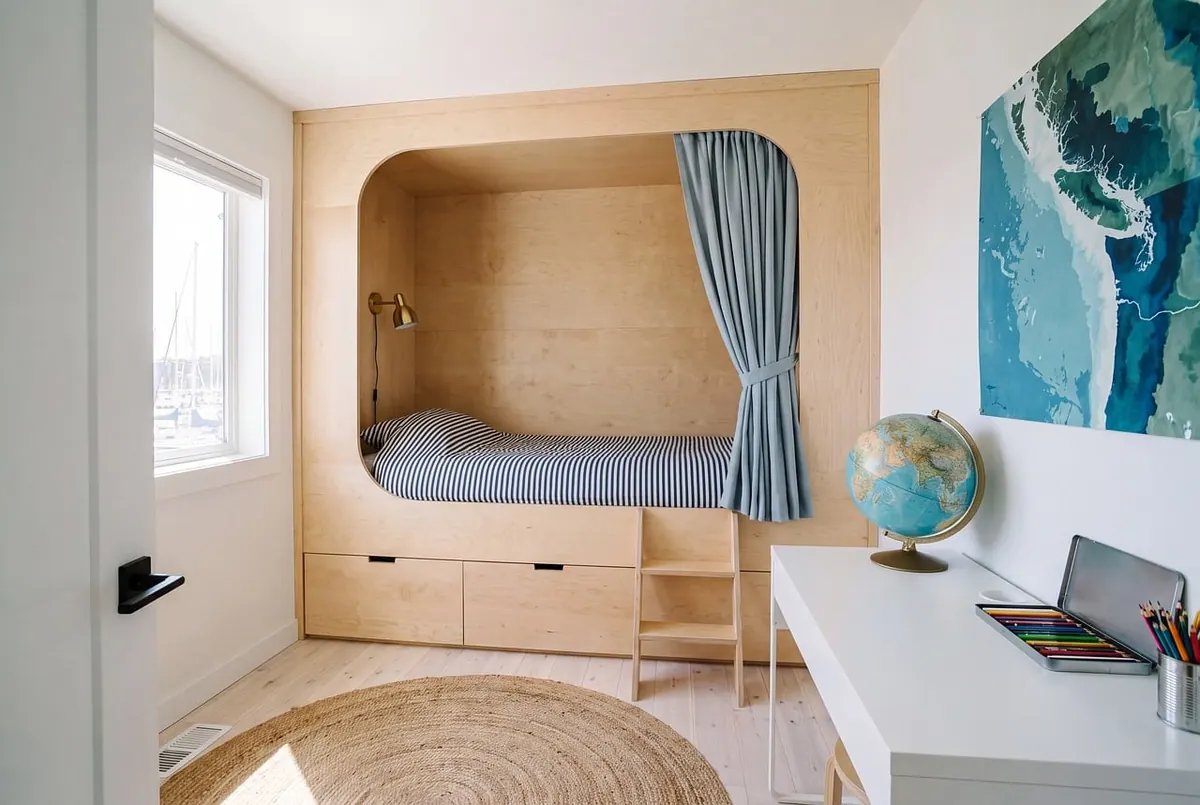
An alcove looks like the easiest place in the house to fit a shelf. It's boxed in on three sides, the span is short, and there's no shortage of brackets to choose from. Then you measure it properly and find the two side walls aren't parallel, the back wall bows, the skirting runs exactly where you wanted the bottom shelf, and the alcove on the other side of the chimney breast is 30mm narrower than this one. None of that is a problem. It just needs measuring in the right order, with clearance left in the right places.
Walls bow. Plaster is thicker in some places than others. Old houses have had a century of settling, and a chimney breast built in 1900 will not be square today. So don't take one width reading across the alcove and call it done.
Measure the internal width at the top of where the shelf will sit, at the middle, and at the bottom. Repeat that for every shelf position if you're fitting a stack, because an alcove can taper by 10–15mm from top to bottom and you want to know that before you cut timber.
Work to the smallest figure you record. If the difference between your widest and narrowest readings is more than about 5mm, expect a visible gap at one end and plan for it — either by scribing the end to the wall, or by adding a slim facing strip afterwards.
Write the numbers down. Take a photo of the wall with the measurements scrawled on it in pencil. Dimensions recalled from memory in a timber yard are how offcuts happen.
Depth is measured from the back wall to the front face of whatever forms the opening: the chimney breast, a return wall, or the edge of a cupboard. If the shelf should sit flush with the chimney breast, that's your depth. If you want the front edge slightly proud, add that now rather than at the saw bench.
Then walk the whole alcove and look for obstacles, because a shelf at 900mm up is no use if a switch plate sits at 880mm:
Height is really a question about spacing. Mark the shelf positions on the wall in pencil and stand back before committing. A4 ring binders stand roughly 320mm tall, paperback rows need about 220mm, and a shelf for cereal boxes needs to be planned around the tallest box in your cupboard. Measure your own tallest items rather than trusting a figure.
Skirting boards. If the bottom shelf sits low, it will meet the skirting. You can cut a notch or rebate around the profile — measure the skirting's height and thickness and transfer them carefully — or simply lift the shelf so it clears the skirting altogether. The second option is usually neater and much easier. Either way, decide before you cut, because notching a finished shelf is far more fiddly than cutting it on the bench.
Picture rails and cornices. These reduce usable height at the top. If a rail runs across the alcove, the top shelf must stop below it. Measure from the underside of the rail, not the ceiling.
Chimney breasts. Never assume the alcove on the left matches the one on the right. They are frequently different widths, different depths, and sometimes not even parallel to each other. Measure both and treat them as two separate jobs, accepting that the two sets of shelves will differ by a few millimetres.
Timber moves. A solid oak or pine shelf expands and contracts across its width as room humidity changes, and if it's wedged hard against plaster on both sides something has to give — usually a hairline crack, or a shelf that bows. Leave a 2–3mm gap at each end of a solid timber shelf. Sheet materials such as MDF, plywood and melamine-faced board move far less, so 1–2mm per side is generally enough, and it makes the shelf much easier to drop into place.
Then account for everything added after cutting:
If you're using adjustable shelving with wall standards, the clearance question changes: the shelf sits on pins and only needs to be short enough to slide in. Measure between the standards, not between the walls.
When a wall is genuinely out of true — a bulge in the plaster, a wonky corner, an old brick face — the cleanest result comes from scribing rather than measuring. Cut that end of the shelf a few millimetres short, offer it up, then hold a small block of wood or a scribe against the wall and run a pencil down it, transferring the wall's profile onto the shelf end. Plane or sand back to the line. The shelf then meets the wall along its full length instead of touching at one high point with a shadow gap either side.
For very awkward alcoves, cut a template from stiff cardboard first and test that. Cardboard is cheaper than oak.
A well-fitted shelf doesn't need force. It should slide in with a millimetre or two to spare, sit level, and meet the plaster without a visible gap. If you have to tap it home with a mallet, you've measured to the widest point rather than the narrowest, and the shelf will either bow, crack the plaster, or jam the first time the heating comes on properly.
Ten minutes with a tape measure, a pencil and a piece of card is the whole job. Cut once, and the shelves will look as though they were always there.
Photo: FernandoZ / Pixabay
How to decorate floating shelves for Christmas safely: check the fixings, estimate a rough load per shelf, and...
Open shelving and closed cabinets suit different kitchens. This comparison looks at dust, grease, access and visual...
Copyright © 2026 Mesa Shelf. All Right Reserved.