Decorating Floating Shelves for Christmas Without Exceeding Their Weight Limit
October 08, 2026 - Home Decor

A wall shelf is a small space with a big job. It has to hold things, look considered, and not turn into a resting place for odds and ends within a fortnight. Most first attempts fail for the same reason: everything gets placed, nothing gets arranged. Styling is really a handful of decisions made in the right order — how many things, how tall, what colour, and how much empty space to leave. Get those four roughly right and the shelf reads as deliberate, even if you swap the objects next month.
The rule of three is the quickest way to make a shelf look arranged. Odd numbers of objects read as a composition; even numbers read as a pair, and the eye keeps looking for a partner that never arrives. You do not need exactly three things on the shelf — you need your objects grouped in threes, or fives at a push. A tall anchor piece, a medium object and something small is one group. Repeat that idea once or twice along the shelf, then stop.
Choose items that differ in at least one dimension. If two objects are a similar height, make them clearly different in width or shape: a slim candlestick beside a squat ceramic bowl works well. If they are similar in width, vary the height. Changing both at once tends to look restless.
A reliable example: a framed print leaning against the wall, a small stack of two or three books laid flat next to it, and a tiny dish on top of the books. One group, three elements, roughly 30cm of shelf.
Hunt for three levels across the shelf: something low (under about 10cm), something mid (10–20cm) and something tall (over 20cm). If every object falls into the same band, you have built a row of tins in a supermarket aisle.
Books are the cheapest riser you own. A stack of two or three hardbacks lifts a small object into view and adds colour at the same time. A low plinth under a small plant does the same job.
Height also applies to the wall above. Leave 15–25cm of clear wall over your tallest object, or the shelf will feel as though something invisible is pressing down on it. If the shelf sits high — above about 1.5m — you are usually looking up at it, so keep the tallest pieces near the front edge and the smaller ones behind, where they will otherwise vanish.
Two or three base tones plus one accent is plenty. The base might be white, pale wood and black; the accent could be deep green, terracotta or brass — whatever already appears elsewhere in the room. The accent should show up two or three times across the shelf, in small doses: a book spine, a candle, the rim of a bowl. One accent object looks like an accident. Three look intentional.
Texture behaves like colour here. Matte ceramic, woven rattan, linen, glazed stoneware and brushed metal all read as different values even when they are the same shade, which is useful if your palette leans neutral. And if one object is busy — a patterned vase, a bright book — give it plain neighbours. Two patterned pieces competing for attention will undo the order you have just created.
This is where most first attempts go wrong. A shelf that is completely filled looks like storage, not style. Aim for roughly a third of the shelf surface to sit empty, and a similar amount of bare wall above it.
Group your objects into two or three clusters rather than spacing them evenly. The gaps between clusters should be noticeably wider than the gaps inside them — that difference is what tells the eye where one group ends and the next begins.
Test it by stepping back three metres and half-closing your eyes. If the shelf becomes one continuous blur of stuff, either widen the gaps or take something off. Nine times out of ten, taking one thing off is the right answer.
Give the shelf a week before you judge it. Arrangements that look slightly sparse the day you build them usually settle into looking right, while arrangements that look full on day one tend to feel crowded by the weekend.
Keep a small box of spare objects — a candle, a little bowl, a second frame — and swap one thing every month or two. That keeps the shelf interesting without a full restyle. If you are drilling new holes, check for cables and pipes behind the plaster first, and use fixings rated for the weight you intend to put on the shelf; a shelf carrying books needs considerably more than one holding two candles.
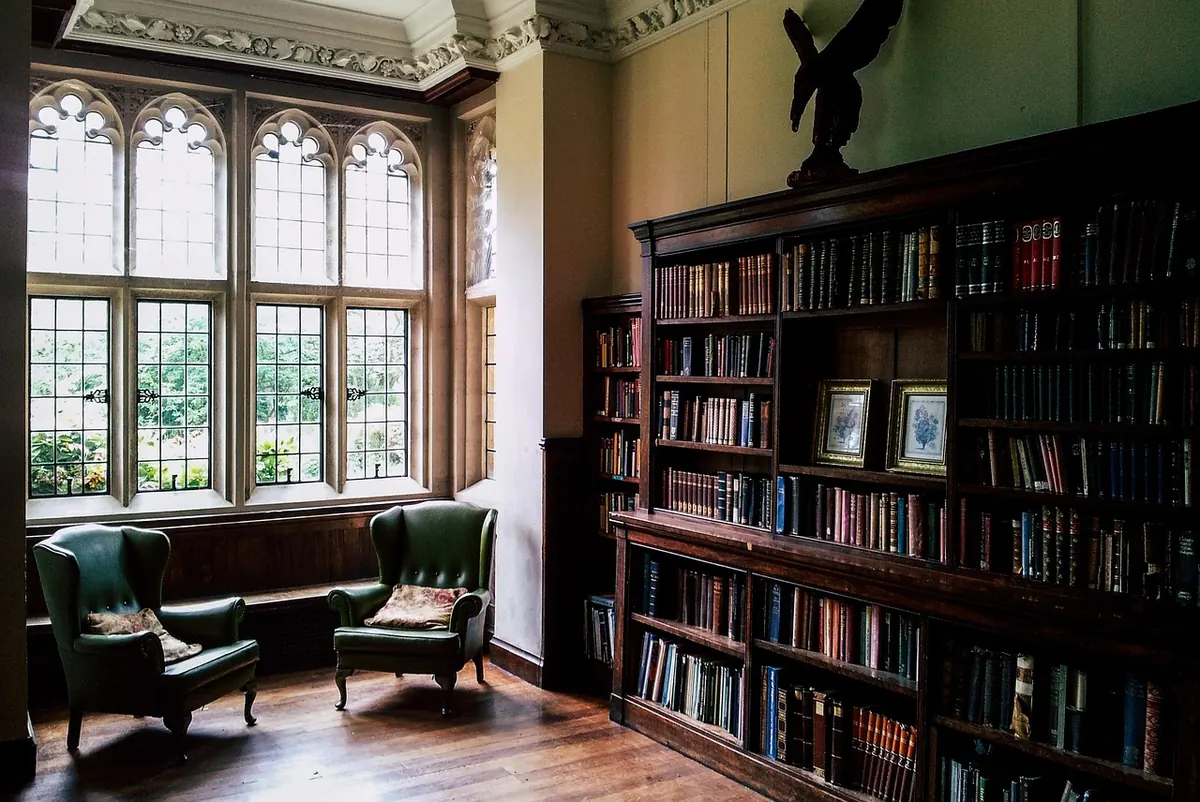
Photo: StartupStockPhotos / Pixabay
How to decorate floating shelves for Christmas safely: check the fixings, estimate a rough load per shelf, and...
Open shelving and closed cabinets suit different kitchens. This comparison looks at dust, grease, access and visual...
Copyright © 2026 Mesa Shelf. All Right Reserved.