Decorating Floating Shelves for Christmas Without Exceeding Their Weight Limit
October 08, 2026 - Home Decor
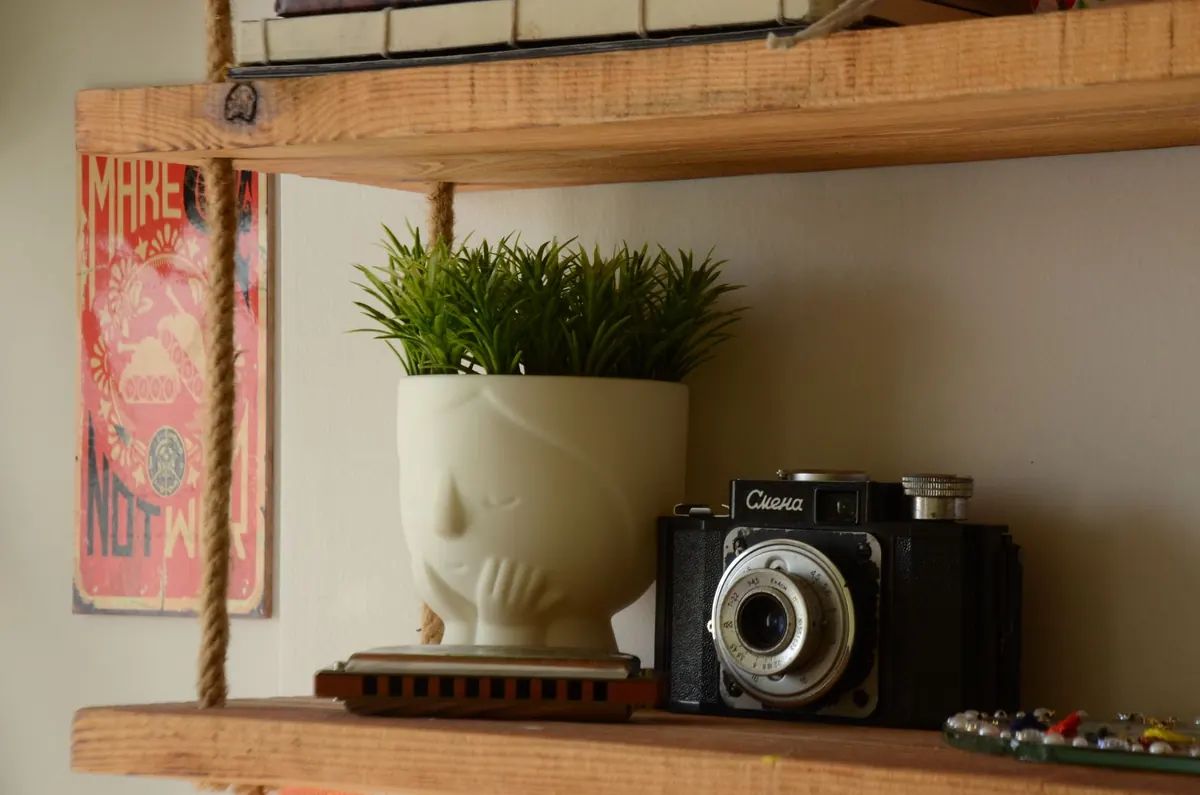
Floating shelves look effortless, which is exactly why they make people nervous. The moment a stud finder sweeps across the wall and finds nothing but hollow taps, it is tempting to assume the whole idea is off. It is not. Most floating shelves in UK homes are fitted into plasterboard without a single stud behind them, and they hold up perfectly well — provided the fixings suit the board and you take ten minutes to check your work before the books go on.
The plasterboard. A sheet of 12.5mm board is a reasonably strong material; the failure point is almost always the hole you drill, not the sheet itself. Load concentrates around each fixing, so your job is to spread that load across as many fixings as the bracket allows and across as much board as each fixing can grip.
Two things are worth identifying before you buy anything. First, board thickness: 9.5mm in older partition walls, 12.5mm in most modern builds. Second, what sits behind the board. A hollow, consistent knock suggests a stud partition with a void. A duller sound with occasional solid patches often means dot-and-dab, where boards are stuck to blockwork with adhesive dabs, leaving a gap of roughly 10–25mm. If a cable or pipe runs in that gap, you want to know before the drill does.
Plastic wall plugs on their own are not suitable for plasterboard — they rely on friction in a material that has very little of it. Choose from these instead:
Buy fixings rated for more than you think you need, check the manufacturer's stated capacity on the packet, and then stay comfortably under it. Where a shelf is 900mm or longer, use four fixings per bracket rather than two.
Gather everything before you start, so you are not hunting for a level with a drill in your hand: a cable and pipe detector, a cordless drill, drill bits matched to your fixings, masking tape, a 600mm spirit level, a pencil, a vacuum or soft brush, and a hand screwdriver.
Reach for a screwdriver rather than an impact driver when tightening. Impact drivers deliver far more torque than plasterboard can take, and crushing the board around a fixing is the quickest way to lose its grip.
Switch the hammer action off — always, for plasterboard. Use a high rotational speed with light pressure and let the bit do the cutting. Pushing hard tears the paper facing and enlarges the hole, which is precisely where a fixing loses its hold.
If the hole comes out ragged or oversized, do not try to rescue it with a bigger screw. Move along by 50mm or so and start again, or step up to a heavier fixing. A clean, correctly sized hole matters more than any other single detail in this job.
A floating shelf's capacity is set by the weakest of three things: the bracket, the fixings, and the plasterboard itself. The board usually loses. Bear in mind that:
Keep heavy items toward the back of the shelf, directly over a bracket, and spread them evenly along the length. If you want to display a full row of hardbacks on a 1.2m shelf, treat that as a job for a batten fixed to the wall with several fixings, with the bracket then screwed into the batten.
A level that was right on the bracket can still be wrong once the shelf is on it. Check in three ways before you load anything:
Then do a gentle press test. Rest your hand on the front edge above each bracket and press down lightly. You are listening and feeling for movement, creaks or the board flexing. A little give in the plasterboard is normal; visible movement at the fixing is not.
Add a light load first — a couple of paperbacks or an empty vase — and leave it for a day. Plasterboard compresses very slightly under load, so the shelf can settle by a millimetre or two. Re-check the level, nip up the grub screws, then build up the weight gradually over the following week.
If anything shifts, creaks or sags, take everything off and start again with heavier fixings and more of them. Shelves are easy to refit; a wall repair is not.
Photo: Hüsna Şimşek / Pexels
How to decorate floating shelves for Christmas safely: check the fixings, estimate a rough load per shelf, and...
Open shelving and closed cabinets suit different kitchens. This comparison looks at dust, grease, access and visual...
Copyright © 2026 Mesa Shelf. All Right Reserved.